


Use Video Capture Device
Add CiCi Cam through Sources → Video Capture Device. Do not use Window Capture for the CiCi Cam interface, and do not select OBS Virtual Camera as the input to the same scene.
Quick answer
CiCi Cam is virtual camera software with webcam filters and beauty effects. Choose your webcam, apply color filters, smooth skin, adjust facial lighting, or add makeup in CiCi Cam. Then select its processed virtual-camera feed as a Video Capture Device source in OBS. Keep CiCi Cam running to send the filtered video into your scenes.
Downloads the CiCi Cam desktop virtual camera—not the upcoming native OBS plugin.
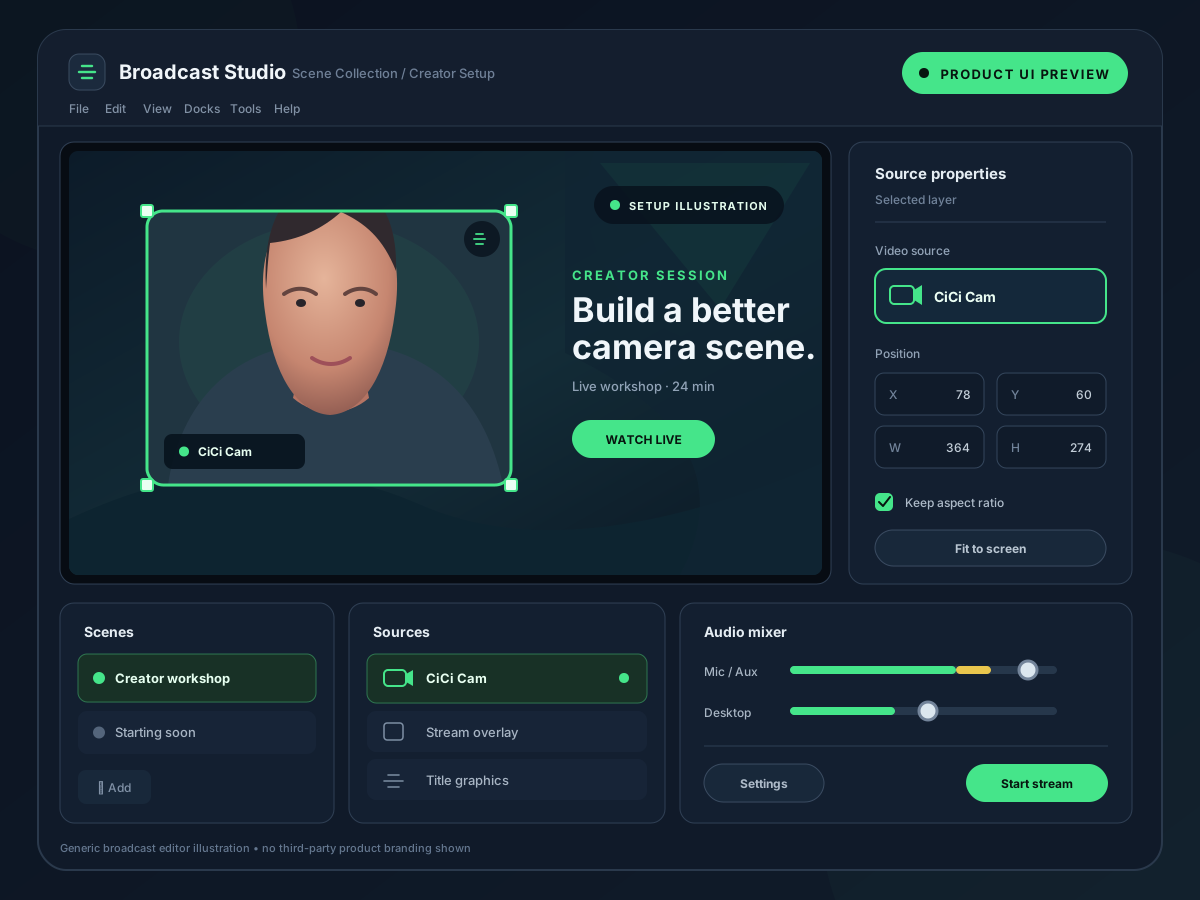
Use this signal path: physical webcam → filters and beauty effects in CiCi Cam → CiCi Cam virtual camera → OBS Video Capture Device source. Keep CiCi Cam running and choose it in the source's Device dropdown. The effects are processed in CiCi Cam; OBS receives the finished video for scene layout and streaming. You do not add CiCi Cam through OBS's Filters menu or start OBS Virtual Camera to receive this source.
Last reviewed:
Install CiCi Cam on the same Windows or Mac machine as OBS. It runs as a separate process and registers a virtual camera device the OS exposes.
Pick your physical webcam in CiCi Cam, then adjust color filters, smoothing, soft light, makeup, and face shape while watching its preview. Save a preset and leave CiCi Cam running so OBS can receive the processed video.
In your OBS scene, open Sources → + → Video Capture Device. Create a source and choose “CiCi Cam” in the Device dropdown. If you already have a camera source, open its Properties and change Device to CiCi Cam. This selects the processed feed instead of the raw webcam.
Change a filter or beauty setting in CiCi Cam and confirm the OBS source reflects it. Position and crop the source in OBS, then record a short test with the rest of your scene. Both applications use the same computer resources, so check motion and audio sync before going live.
Setup illustrations and product UI previews for the CiCi Cam → OBS input path
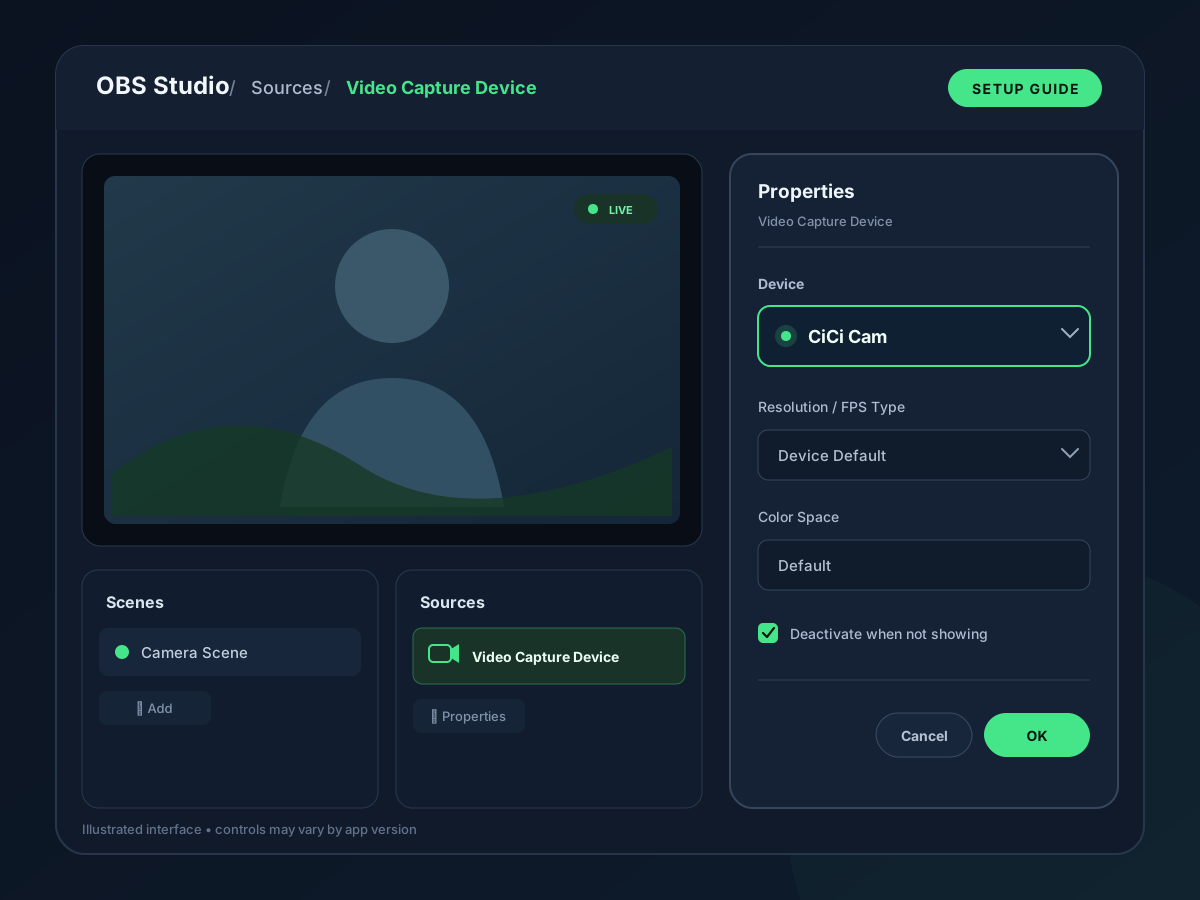
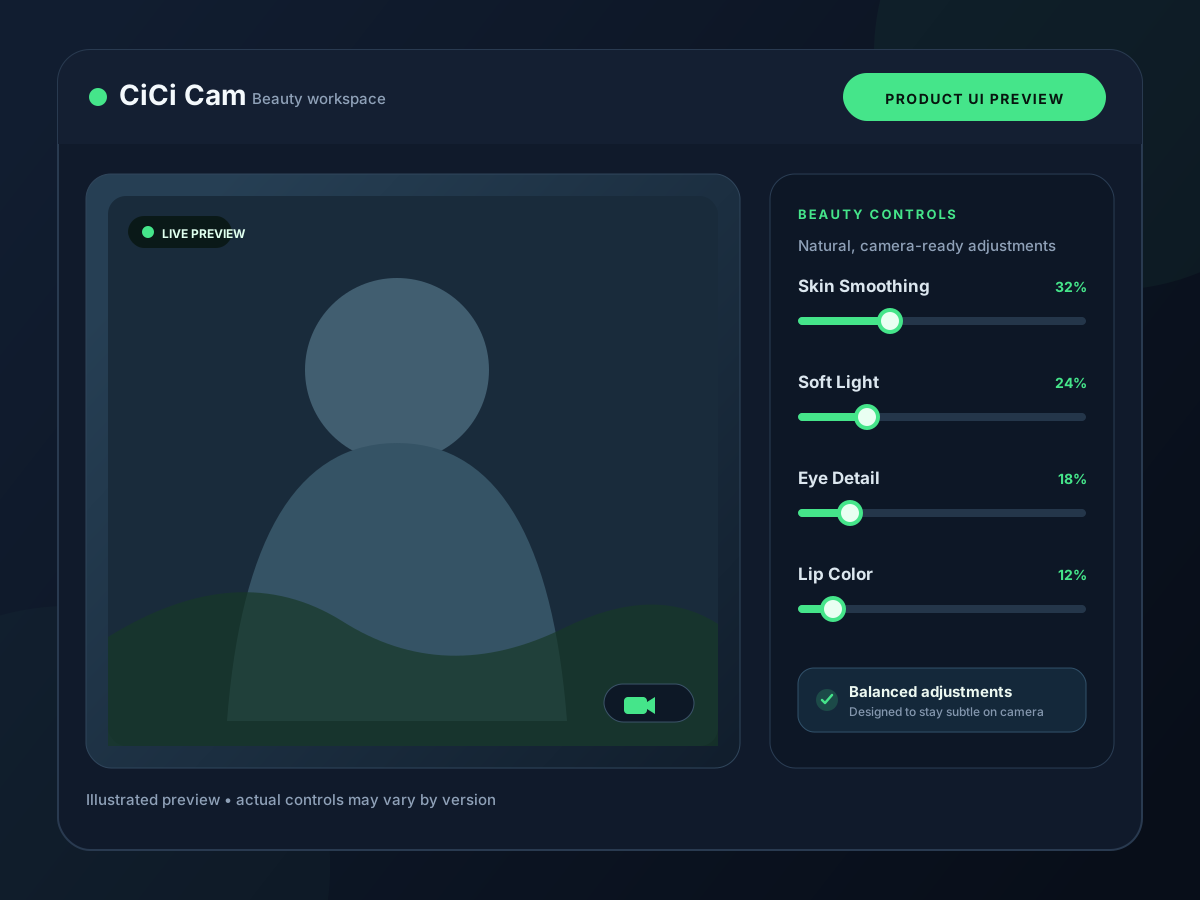
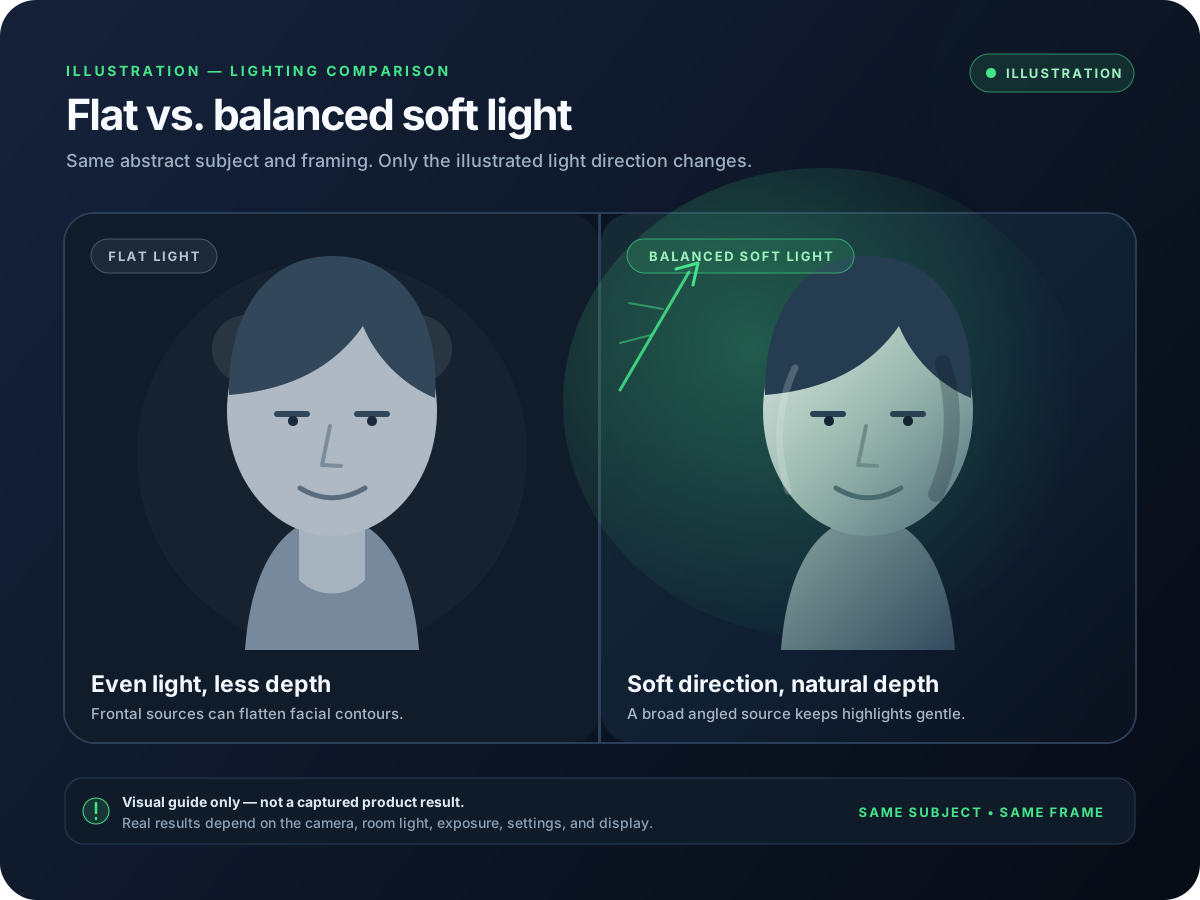
CiCi Cam appears under Sources → Video Capture Device. It is not installed in the OBS plugin folder and does not require Start Virtual Camera for this input direction.
CiCi Cam supports Windows 10/11 x64 and macOS 14 or later on Apple Silicon. Confirm that OBS can access camera devices on the same machine.
Configure skin smoothing, makeup, face shape, facial lighting, and color in CiCi Cam, then reuse the processed feed across OBS scenes.
CiCi Cam, OBS, browser sources, and the encoder all use the same computer. Test a representative recording or private stream before going live.
OBS can crop, mask, sharpen, key, and color-correct a source. Those scene-wide filters do not provide separate face-aware controls for skin, makeup, facial lighting, or face shape.
OBS documents that third-party plugins can depend on the operating system, CPU architecture, and OBS version. A virtual-camera input keeps the OBS side of this beauty workflow on the standard Video Capture Device path.
CiCi Cam sends an enhanced webcam into OBS. OBS Virtual Camera sends a completed OBS scene out to another app. Confusing those directions is a common cause of missing or circular video.
CiCi OBS is a separate plugin currently in development. The downloadable product on this page is the available CiCi Cam desktop virtual camera.
Both features create camera devices, but they sit on opposite sides of an OBS workflow. Choosing the correct direction prevents black screens, feedback loops, and unnecessary processing.
| Question | CiCi Cam virtual camera | OBS Virtual Camera |
|---|---|---|
| What does it output? | A processed webcam feed | The OBS program, preview, scene, or selected source |
| Typical signal direction | Physical webcam → CiCi Cam → OBS | OBS scene → OBS Virtual Camera → Zoom, Teams, or another app |
| Where is it selected? | Inside OBS as a Video Capture Device | Inside the app that needs to receive the finished OBS scene |
| Is Start Virtual Camera required? | No. Add CiCi Cam as an OBS source. | Yes. Start it when another app needs the OBS output. |
| Primary job | Face-aware beauty, lighting, makeup, shape, and color before OBS | Send OBS composition, overlays, and sources outward as one camera feed |
A longer chain is valid when needed: physical webcam → CiCi Cam → OBS → OBS Virtual Camera → destination app.
Start with device defaults, confirm the signal path, then change one capture property at a time while watching OBS Stats and a short test recording.
Add CiCi Cam through Sources → Video Capture Device. Do not use Window Capture for the CiCi Cam interface, and do not select OBS Virtual Camera as the input to the same scene.
Use the upstream virtual camera when the same beauty preset should work before OBS or across camera apps. Use an OBS plugin only when the effect must live inside a specific OBS source or scene, after checking platform, architecture, and OBS-version compatibility.
Begin with Device Default. If you choose Custom, use a mode the virtual camera exposes and keep it aligned with the intended stream. OBS notes that an unsupported resolution can produce no image.
Leave Buffering on Auto-Detect first. OBS documents that enabling it can help stutter, while disabling it can reduce device delay. Test the result because the best choice depends on the system.
CiCi Cam, OBS composition, the encoder, browser sources, and games all share the computer. Run a representative recording or private stream instead of assuming a separate process has no GPU or CPU cost.
Confirm each stage from left to right: physical webcam, CiCi Cam preview, CiCi Cam virtual camera, then the OBS source.
Close OBS, open CiCi Cam and confirm its virtual camera is installed and running, then reopen OBS so it scans camera devices again. Check operating-system camera permissions if it remains missing.
Make sure CiCi Cam owns the physical webcam and OBS owns the CiCi Cam virtual camera. Close another app if it is also trying to open the physical device.
Open the source properties and inspect Device. If the physical webcam is selected, change it to CiCi Cam. Beauty changes can only reach OBS through the CiCi Cam output.
Test 1280 × 720 at 30 fps, check the Buffering setting, remove duplicate heavy filters, and review OBS Stats. Increase quality only after the complete scene remains stable.
Follow the complete input workflow, including source setup, signal direction, and common failure points.
Understand which camera sends video into OBS and which one sends an OBS scene outward.
Choose between scene-wide color controls and face-aware processing without duplicating effects.
Configure the camera source, canvas, framing, cropping, and a stable beginner stream.
Choose between virtual-camera filters, face-aware beauty, AR effects, and scene-production tools before setting up your source.
Check the desktop app's daily free effect limits and plan details before using it for a stream.
OBS source names, capture properties, plugin compatibility, download path, and Virtual Camera behavior were checked against official OBS pages. Performance recommendations are diagnostic starting points, not universal benchmarks.
Install CiCi Cam on Windows 10/11 x64 or macOS 14+ on Apple Silicon, build a natural webcam preset, and select CiCi Cam as your Video Capture Device in OBS.
Download CiCi Cam Free